

Ultrasound Therapy for Musculoskeletal Pain Relief

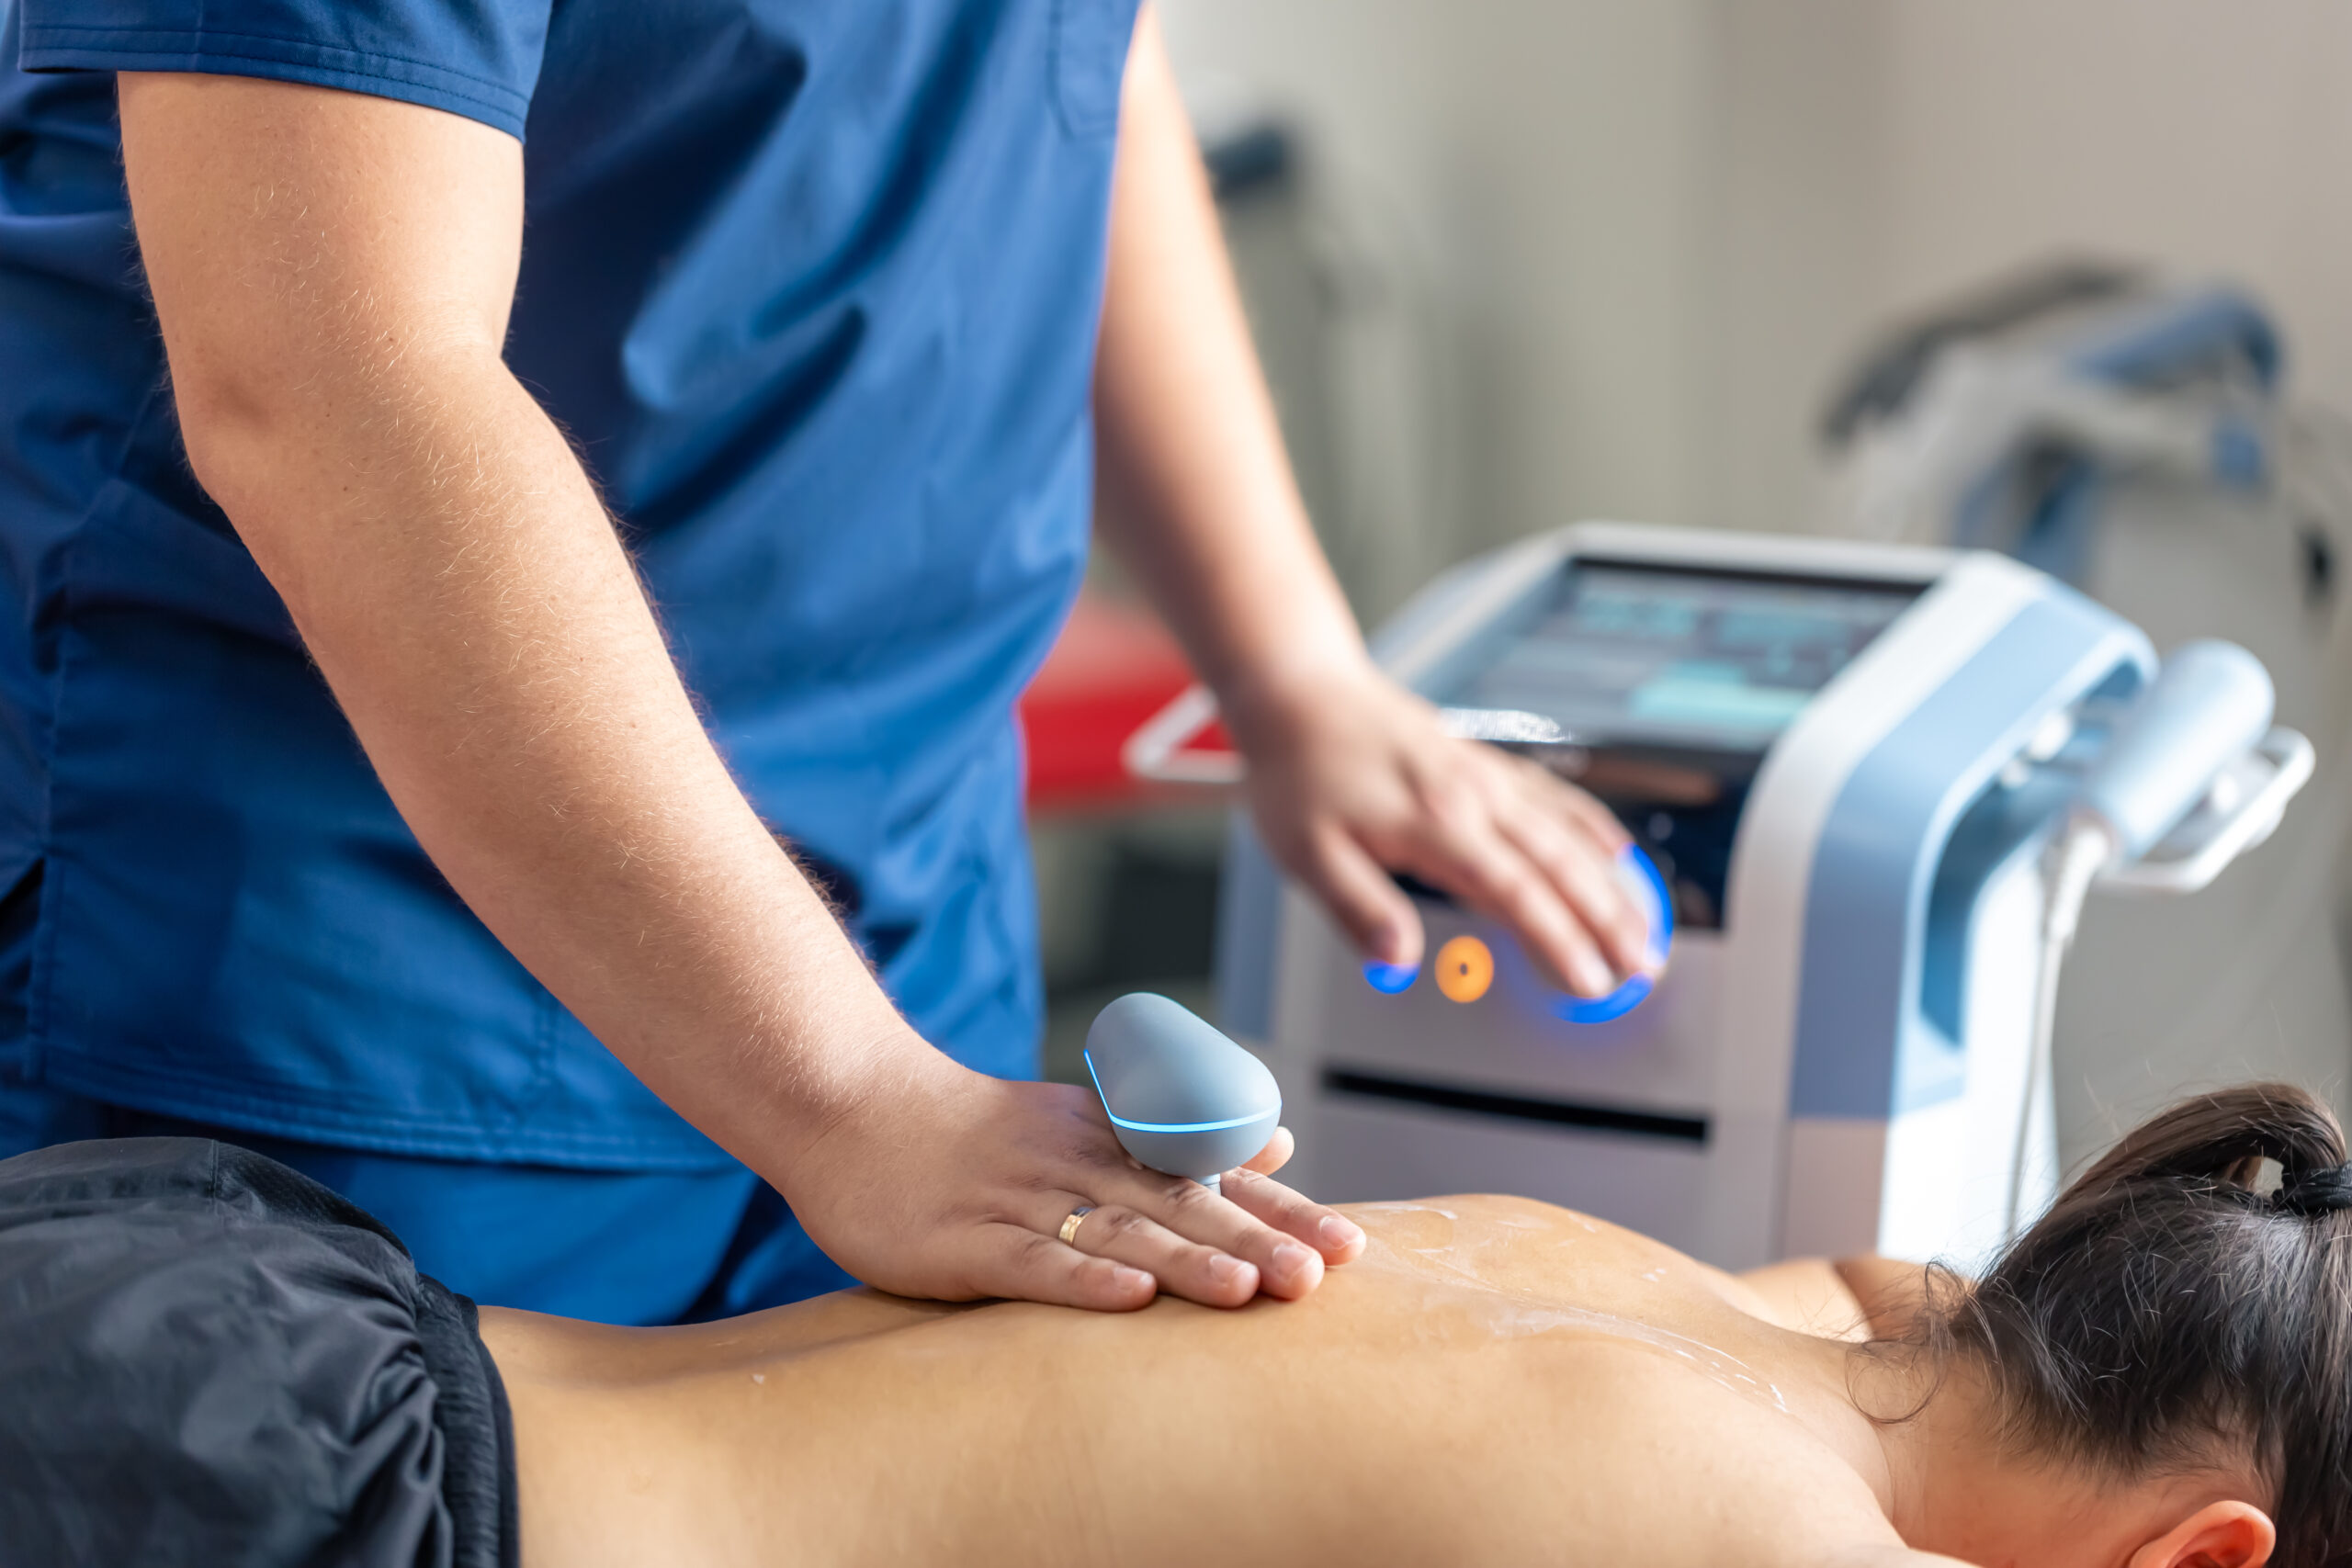
Discover the advantages of ultrasound therapy for diagnosing and treating various musculoskeletal conditions.
Abstract: Unveiling the Body’s Inner Workings with Sound Waves
Musculoskeletal ultrasound is a powerful, non-invasive imaging tool that provides real-time, high-resolution views of the body’s soft tissues. In this educational post, we will embark on a journey through the fundamentals of diagnostic ultrasound, exploring how different tissues—from tendons and muscles to nerves and ligaments—appear on the screen. I will present the latest findings from leading researchers in the field, showcasing their work using modern, evidence-based methods to explain key concepts such as echogenicity, anisotropy, and the crucial importance of proper probe handling. We will delve into the physiological underpinnings of these tissues and discuss how to differentiate them through pattern recognition. Furthermore, I will share my clinical observations on how we integrate this technology into a patient-centered, integrative chiropractic care model. This approach allows us not only to achieve a precise diagnosis but also to guide treatment with unparalleled accuracy, ultimately enhancing patient outcomes.
Understanding the Language of Ultrasound: Echogenicity and Tissue Patterns
In my practice, I often refer to ultrasound as a “glorified flashlight” because it allows us to illuminate the internal anatomy and see what’s happening beneath the skin. The key to interpreting these images lies in understanding echogenicity, which is essentially how bright or dark a tissue appears. This brightness depends on how much of the ultrasound beam is reflected to the probe.
- Hyperechoic: These tissues are bright white. They are dense and reflect a large amount of the sound waves. Bone is the classic example of a hyperechoic structure.
- Hypoechoic: These tissues appear as shades of gray to black. They reflect fewer sound waves. Muscle and cartilage are typically hypoechoic.
- Isoechoic: This term means “the same” or “similar” in brightness to adjacent tissues. Tissues such as muscle, fat, and subcutaneous tissue can often appear isoechoic to one another, requiring a skilled eye to differentiate among them.
- Anechoic: This means “without echo.” These structures are completely black and represent fluid, such as in a cyst or a joint effusion, because sound waves pass straight through them without reflection.
The power of ultrasound lies in pattern recognition. Over time, we train our eyes to recognize the distinct visual signatures of different tissues, much like learning a new language.
Tendons: The Body’s Strong Cords
When we look at a healthy tendon in a long-axis view (in line with its fibers), we expect to see a hyperechoic (bright), well-organized, fibrillar pattern. Imagine a bundle of tightly packed, parallel white stripes. This is the hallmark of a strong, intact tendon.
For example, when imaging the patellar tendon, we see distinct bright fibers connecting the patella (kneecap) to the tibia (shinbone). Below it, we might see the infrapatellar fat pad, which has a more disorganized, wavy appearance. By recognizing this expected pattern, we can immediately spot abnormalities like inflammation (tendinitis), chronic degeneration (tendinosis), or tears, which would disrupt this orderly structure and often appear as hypoechoic or anechoic regions.
Muscles: The Engines of Movement
Normal muscle tissue has a more complex, hypoechoic appearance than bone. When you look at a muscle in cross-section, you’ll see a dark background punctuated by small, bright white strands. These bright strands are the perimysium, the connective tissue that encases bundles of muscle fibers (fascicles). This gives it a “Starry Night”- like, speckled appearance.
When viewed along its length (long axis), it appears feathery, like a collection of parallel lines separated by hyperechoic connective tissue. You can even see the muscle tapering into a bright, dense tendon at its attachment point. Identifying this textbook appearance is crucial for diagnosing muscle strains, tears, or atrophy.
Cartilage: The Body’s Cushioning
With ultrasound, we must differentiate between the two main types of cartilage:
- Hyaline Cartilage: This is the smooth, glassy cartilage that covers the ends of bones within a joint, like the articular surface of the humeral head in the shoulder. On ultrasound, it appears as a distinct hypoechoic (dark) stripe directly overlying the bright white line of the bone. Its health is vital for smooth, pain-free joint movement.
- Fibrocartilage: This type of cartilage is tougher and acts as a shock absorber. Examples include the meniscus in the knee and the labrum in the shoulder or hip. Unlike hyaline cartilage, fibrocartilage is hyperechoic (brighter) and has a more triangular or wedge-shaped appearance, distinguishing it from surrounding tissues.
Ultrasound allows us to assess the integrity of both types of cartilage, looking for thinning, fraying, or tears that could cause significant joint pain and dysfunction.
Ligaments: The Joint Stabilizers
Ligaments connect bone to bone and are essential for joint stability. On ultrasound, they look very similar to tendons—they are hyperechoic and have a fibrillar, striated pattern. However, a key difference is that ligaments are typically denser and more compact than tendons.
The true power of ultrasound in evaluating ligaments comes from its real-time, dynamic capabilities. I can perform a stress test while imaging. For instance, to assess the Medial Collateral Ligament (MCL) of the knee, I can apply a valgus force (pushing the knee inward from the outside) and watch the ligament on the screen.
- If the ligament is competent, it will remain taut.
- If it is torn, I will see a visible gap in the tissue, often accompanied by an influx of anechoic fluid (bleeding).
This “point-of-care” evaluation allows for immediate and accurate grading of ligament sprains (Grades 1, 2, or 3), information that static MRI images cannot provide. This dynamic feedback is invaluable for diagnosis and for guiding our treatment plan.
Navigating the Nervous System: Nerves in Ultrasound
Nerves have a unique and fascinating appearance on ultrasound, making them stand out once you know what to look for.
In a short-axis view (cross-section), nerves have a classic “honeycomb” appearance. This pattern is created by the hypoechoic (dark) nerve fascicles, which are the bundles of nerve fibers, surrounded by the hyperechoic (bright) connective tissue called the epineurium. This distinct mixed-echogenicity pattern is a dead giveaway that you are looking at a nerve.
In a long-axis view (longitudinal), the nerve looks like a bundle of parallel fascicular tubes, but this view can sometimes be less clear and may be confused with a tendon. Therefore, it’s essential to use both short and long-axis views to confirm your structure.
Clinical Tip: A great trick for locating nerves is to scan. Your eye is naturally drawn to motion and contrast. As you move the probe rapidly across a region, the distinct honeycomb pattern of the nerve will “pop” out from the more uniform appearance of surrounding muscles and tendons. The carpal tunnel is a perfect place to practice this, as the median nerve’s appearance is very different from the surrounding flexor tendons.
The Pitfall of Anisotropy: A Common Ultrasound Artifact
One of the most important concepts to master in musculoskeletal ultrasound is anisotropy. This is an artifact, not a true pathological finding, that occurs when the ultrasound beam is not perfectly perpendicular (at a 90-degree angle) to the tissue being imaged, particularly with highly organized structures like tendons.
When the beam hits the tendon at an angle, the sound waves are reflected away from the probe instead of back to it. This lack of returning signal causes the normally hyperechoic (bright) tendon to appear hypoechoic (dark). Why is this a problem? Because a dark area in a tendon can also signify a tear.
To differentiate true pathology from this artifact, you must always “heel-toe” the probe, toggling it back and forth to ensure you are perpendicular to the target.
- If the dark spot disappears and the tendon becomes bright when you adjust the probe angle, it is anisotropy.
- If the dark spot remains dark no matter how you angle the probe, it is more likely to be a true tear.
In my training, a core principle was, ” Ne view is no view.” Please prove your findings by imaging the structure from multiple angles and in both short- and long-axis views. Dynamic assessment, such as asking the patient to contract the muscle against resistance, can also help. If a gap opens up in the dark area during contraction, you have confirmed a tear.
The Art of Probe Handling: Setting Yourself Up for Success
Diagnostic and interventional ultrasound is highly operator-dependent. Your skill in handling the probe directly impacts the quality of your images and the success of any guided procedure.
The Tripod Technique
Holding the probe correctly is paramount for stability and fine motor control. We teach the “tripod technique,” in which you hold the probe like a pencil with your thumb and index finger, using your other fingers to brace your hand against the patient’s skin. This creates a stable base, preventing shaky images and allowing for tiny, precise movements. Please avoid holding the probe by its tail or wrapping your whole hand around it, as this severely limits your control and can interfere with procedures.
Probe Orientation
Most probes have a dot or marker on one side. Ultrasonographers are trained to orient this marker in a standardized way (e.g., always to the patient’s right or head). However, as an interventionalist, my priority is aligning the screen with the patient’s anatomy. I orient the probe so that “head is head” and “foot is foot,” or “medial is medial” and “lateral is lateral” on the screen. This intuitive approach eliminates the mental gymnastics of reversing the image in my head when guiding a needle. It makes procedures faster, safer, and more accurate because I know exactly how to move my hand to guide the needle tip to the target.
Integrating Ultrasound into Chiropractic and Functional Medicine
At our clinic, musculoskeletal ultrasound is not just a diagnostic tool; it is a cornerstone of our integrative treatment philosophy. By visualizing the anatomy in real time, we can achieve a level of precision previously unattainable.
- Diagnostic Precision: As a chiropractor and functional nurse practitioner, I consider a definitive diagnosis the first step. Is a patient’s shoulder pain from a rotator cuff tear, bursitis, or biceps tendonitis? Ultrasound can often tell us immediately, right in the office. This allows us to move past guesswork and create a highly targeted treatment plan. As I have personally observed, this immediate feedback empowers patients, as they can see the source of their pain on the screen, which dramatically improves their understanding and adherence to the treatment plan.
- Guided Interventions: When we perform regenerative medicine injections, such as platelet-rich plasma (PRP) or prolotherapy, ultrasound guidance is non-negotiable. It allows me to guide the needle with millimeter accuracy directly to the site of injury—whether it’s a small tear in a tendon or an inflamed bursa. This ensures that the therapeutic injectate is delivered precisely where it’s needed most, maximizing its effectiveness and minimizing the risk of injury to surrounding structures such as nerves or blood vessels.
- Monitoring Progress: Ultrasound allows us to track healing over time. We can visually monitor a tendon tear to see if it’s healing, measure the reduction of inflammation in a bursa, or confirm that a ligament is regaining its structural integrity after treatment. This objective data helps us adjust the treatment plan and provides both the patient and me with confidence that we are on the right path.
- Informing Chiropractic Care: The findings from an ultrasound scan directly inform my chiropractic adjustments and soft tissue therapies. If I identify a specific adhesion in a muscle or a point of inflammation around a joint, I can tailor my manual techniques to address that exact area. This synergy between advanced imaging and hands-on care is what defines a modern, evidence-based integrative practice.
In conclusion, musculoskeletal ultrasound is an amazing technology that acts as an extension of our clinical hands and eyes. It provides a dynamic, real-time window into the body, enabling us to diagnose with confidence, treat with precision, and deliver the highest standard of integrative care to our patients.
References
- Jacobson, J. A. (2017). Fundamentals of musculoskeletal ultrasound (3rd ed.). Elsevier.
- Finnoff, J. T., & Smith, J. (2011). Musculoskeletal ultrasound: A focus on the extremities. PM&R, 3(10), 963–977. https://doi.org/10.1016/j.pmrj.2011.07.010
- O’Neill, J. (2008). Musculoskeletal ultrasound: Anatomy and technique. Springer. https://link.springer.com/book/10.1007/978-0-387-76609-9
SEO Tags: musculoskeletal ultrasound, diagnostic ultrasound, integrative chiropractic, functional medicine, Dr. Alexander Jimenez, echogenicity, anisotropy, tendon imaging, nerve imaging, ligament stress test, ultrasound-guided injections, probe handling, rotator cuff tear, carpal tunnel syndrome, regenerative medicine, evidence-based practice

Comments are closed.